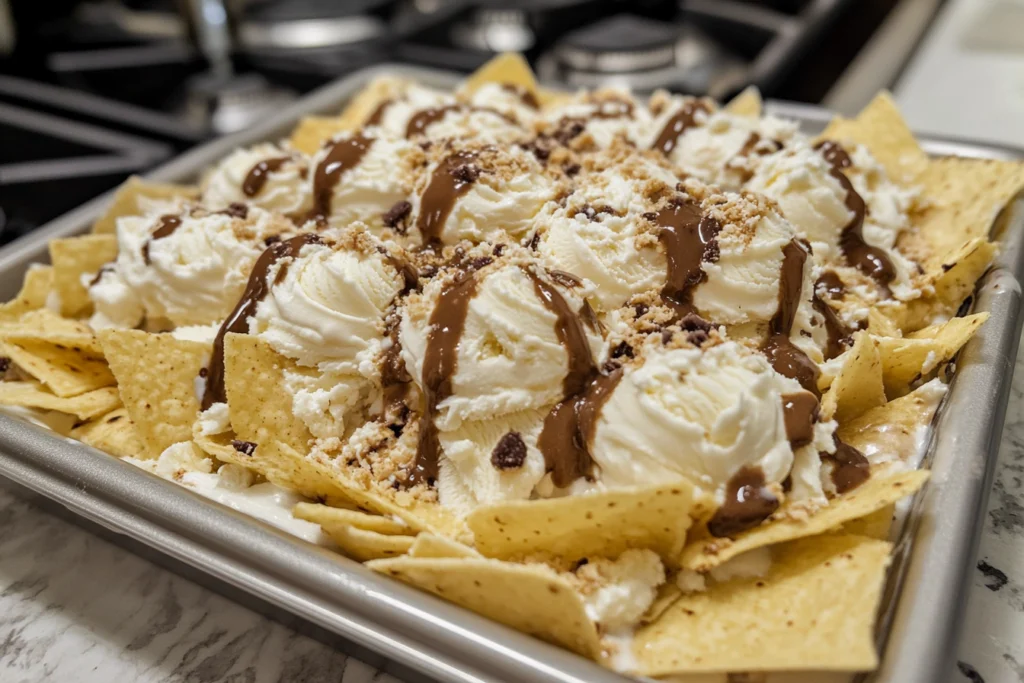
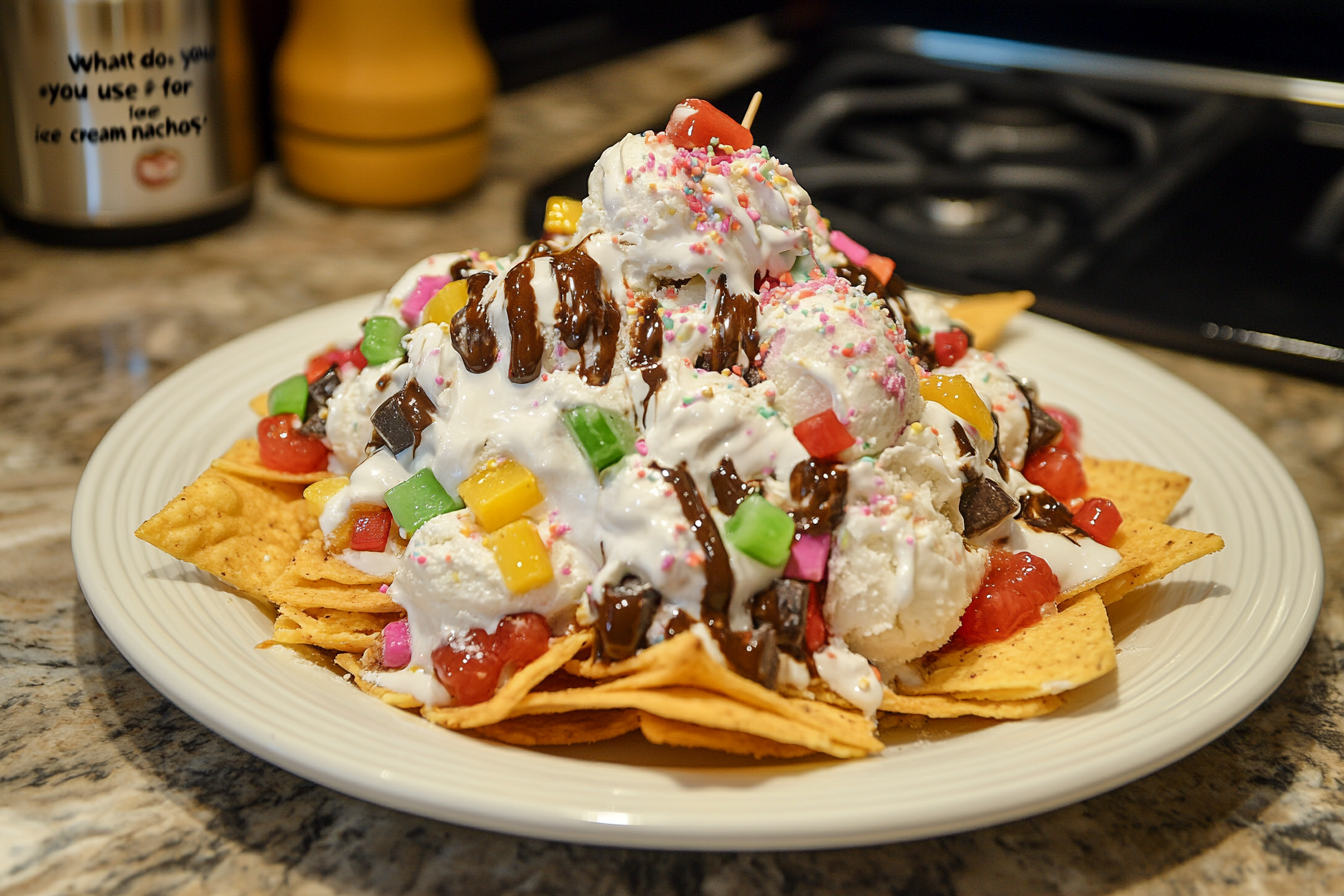
I’ll be honest—when I first heard about Ice cream nachos recipe, I thought it was one of those gimmicky desserts. But after trying them out for a family night, I was hooked. They’re fun, super easy to make, and totally customizable. Whether you’re hosting a party, planning a family movie night, or just want a creative way to enjoy dessert, this treat is a total game-changer.
What Are Ice Cream Nachos
Think of your favorite nachos—but dessert style. Instead of savory tortilla chips, you use sweet, crunchy “chips.” Then you load them up with creamy ice cream and a rainbow of toppings. It’s a playful dessert that looks amazing on the table and tastes even better.
I love serving these for get-togethers because they’re so interactive and fun to assemble. Everyone gets to pick their own toppings, and it turns dessert into a mini DIY party.
What You’ll Need to Make Ice Cream Nachos
Let’s break it down into three parts:
1. The Base – Sweet “Chips”
You want something that’s sturdy enough to hold ice cream but still sweet and crisp. Here are my go-to options:
- Cinnamon-sugar tortilla chips: Cut flour tortillas into wedges, brush with butter, sprinkle with cinnamon sugar, and bake.
- Waffle cone pieces: Break them into chip-size pieces for that classic cone flavor.
- Thin cookies or shortbread: Graham crackers, vanilla wafers, or even chocolate-dipped shortbread for a more indulgent vibe.
2. The Ice Cream – The Star of the Show
This is where the real fun begins. I like using a variety of flavors for visual appeal and contrast.
My top choices include:
- Vanilla, chocolate, and strawberry: Classic and crowd-pleasing.
- Mint chocolate chip: Adds a refreshing pop with flecks of chocolate.
- Birthday cake: Funfetti-style and perfect for parties.
- Cookies & cream: Always a winner—especially with cookie-based chips.
- Dairy-free options: Coconut milk-based or almond milk ice cream works great. Mango sorbet is a refreshing alternative.
Pro Tip: Use a small cookie scoop to make mini ice cream balls. They’re easier to eat and look super cute!
How I Prep Ice Cream for Nachos
- Mini scoops: I use a small scoop or melon baller to make bite-sized ice cream balls.
- Multiple flavors: I usually pick 3–4 flavors and arrange them in sections.
- Chill factor: I always chill the serving platter for 10–15 minutes in the freezer. It helps slow down melting when I serve.
Here’s how I set up the ice cream part:

Topping Ideas That Take It to the Next Level
This is where you can get really creative. The right toppings will tie everything together, and you can totally tailor them to your crowd or theme.
Sauces
- Chocolate syrup: A classic. I warm it slightly for an ooey-gooey drizzle.
- Salted caramel: Adds a rich, buttery flavor.
- Strawberry sauce: Brings in fruity sweetness.
Creamy & Fruity Additions
- Whipped cream: I use a piping bag to add little rosettes for a bakery-style finish.
- Fresh fruit: Sliced strawberries, bananas, blueberries, raspberries—whatever’s in season.
Crunchy Goodness
- Nuts: Toasted pecans, peanuts, or slivered almonds.
- Sprinkles: Rainbow or chocolate ones for a fun, colorful look.
- Crushed candy: Think peppermint, toffee bits, or M&Ms.
Unique Extras
- Mini marshmallows: Great when combined with warm sauces.
- Edible glitter: If I’m feeling extra, this adds sparkle and makes the dessert magical.
How I Assemble My Ice Cream Nacho
Here’s my step-by-step method:
- Lay out the chips on a big platter, slightly overlapping to create a base.
- Add the ice cream scoops evenly over the chips. I like alternating flavors.
- Drizzle the sauces using squeeze bottles for clean, decorative lines.
- Add toppings like nuts, fruits, and sprinkles. I finish it off with marshmallows and a sprinkle of glitter if I’m going all-out.
Serving Tips for the Best Experience
- Assemble right before serving: Ice cream melts fast, especially if you’re outside.
- Use a chilled platter: It helps everything stay frozen a bit longer.
- Offer individual bowls: If I’m serving a larger group, I’ll create small portions in chilled bowls.
Creative Variations and Themes
This dessert is so easy to personalize depending on the season or occasion.
Holiday-Themed Ice Cream Nachos
- Christmas: Peppermint ice cream, crushed candy canes, red and green sprinkles.
- Halloween: Pumpkin ice cream, gummy worms, and orange chocolate drizzle.
- Valentine’s Day: Heart-shaped cookies, strawberries, and edible rose petals.
Kid-Friendly vs. Fancy Gourmet
- Kid-friendly version: Flavors like birthday cake, cookies & cream, gummy bears, and rainbow sprinkles.
- Gourmet version: Think salted caramel ice cream, dark chocolate drizzle, and roasted nuts.
How I Store Leftovers (If There Are Any!)
- Chips: Store them in an airtight container at room temp. Keep them dry to stay crunchy.
- Ice cream: Press plastic wrap directly on top before sealing the container to avoid freezer burn.
Set Up a DIY Ice Cream Nacho Bar
This is a huge hit for parties. I set out:
- Bowls of different chip options.
- A variety of ice cream flavors in a cooler.
- Toppings in small bowls.
- Squeeze bottles for sauces.
Then let everyone build their own masterpiece.
Other Fun Dessert Ideas I Love
If you’re like me and enjoy interactive, customizable desserts, here are more fun ideas I’ve tried and loved:
- Dessert Tacos: Use crepes or waffle shells filled with ice cream and fruit.
- Ice Cream Sandwich Bar: Offer different cookies and fillings to mix and match.
- No-Bake Cheesecake Bites: Easy, creamy, and perfect for mini portions.
- Layered Parfaits: Pudding, fruit, and whipped cream in clear cups.
- Donut Sundaes: Donuts sliced and stuffed with ice cream, then topped.
- S’mores Dip: Melted chocolate and marshmallows with graham crackers for dipping.
- Banana Split Nachos: Banana chips + ice cream + all the toppings.
- Dessert Pizza: Sugar cookie base topped with fruit and frosting.
- Milkshake Flights: Mini milkshakes with different themes and toppings.
- Brownie Sundae Cups: Brownies baked in muffin tins and filled with ice cream.
- Churro Bites with Dips: Mini churros served with chocolate or caramel sauce.
- Frozen Yogurt Bark: Spread yogurt, top with fruit, freeze, and break into chunks.
- Waffle Dessert Board: Mini waffles, toppings, and spreads for a fun brunch/dessert combo.
- Cake Pops: Crumbled cake + frosting = portable dessert perfection.
- Candy Charcuterie Board: A colorful mix of candies, cookies, and small sweets on a platter.
My Best Tips for Dessert Success
- Prep ahead: Make chips, scoop ice cream, and chop toppings in advance.
- Go all in on presentation: Use cute dishes, piping bags, and chilled platters.
- Layer textures: Combine crunchy, creamy, chewy, and gooey elements.
- Seasonal flavors: Think apple pie in fall or tropical fruit in summer.
- Let guests build their own: DIY stations are always a hit and make things easy on you!
More FAQs: Ice Cream Nachos
1. Can I make ice cream nachos ahead of time?
Not fully—assemble just before serving so nothing melts or gets soggy.
2. What’s the best way to keep ice cream cold at a party?
Use a cooler with ice packs or freeze your serving platter beforehand.
3. Can I use store-bought sweet chips?
Absolutely! Cinnamon pita chips or waffle cones work great.
4. What are good vegan ice cream options?
Coconut milk, almond milk, or oat-based ice creams are all creamy and delicious.
5. How do I avoid soggy chips?
Use crunchy, sturdy chips and serve right after assembly.
6. Can I use frozen fruit as toppings?
Yes, but thaw and pat dry first to avoid excess water.
7. What’s the best sauce to drizzle?
I love warm chocolate or salted caramel for that rich contrast.
8. How do I make it more kid-friendly?
Add lots of sprinkles, gummy bears, and use bright-colored sauces.
9. Can I make a gluten-free version?
Yes! Use gluten-free cookies, chips, and ice cream.
10. What’s a fun twist for adults?
Add a splash of liqueur in your sauce or use gourmet toppings like espresso drizzle or candied nuts.

